Most people who want to sell digital products get stuck before they start because they’re picturing something complicated. The reality is that your first sellable digital product could be a single well-designed page — a daily planner, a habit tracker, a worksheet, a checklist. Something useful, something specific, something a person would genuinely want to print and use.
Canva makes this more accessible than it has any right to be. The free plan is genuinely enough to start, the templates do most of the heavy lifting, and the export process takes about 30 seconds. This weekend is enough time to go from zero to a finished product ready to list.
Some links in this post are affiliate links — I may earn a small commission at no extra cost to you. I only share things I actually use. ✨
What Makes a Good First Digital Product
The best first digital product is not the most original idea you have. It’s the most specific useful thing you can create quickly. Before you open Canva, answer these three questions:
- Who is this for? (Parents of young kids, teachers, women budgeting, home organizers)
- What problem does it solve? (Keeping kids busy, tracking spending, planning meals, staying organized)
- What format makes the most sense? (Single page, multi-page pack, daily template, weekly planner)
Once you can answer those three, you have a product. A budget tracker for families saving for a vacation. A weekly planner for women running a side hustle. A summer activity pack for kids ages five to eight. That level of specificity is what makes a product findable and sellable — not the design, not the complexity.
Step 1 — Set Up Your Free Canva Account
Go to Canva.com and create a free account. The free plan includes thousands of templates, all the basic design tools, and PDF export — which is everything you need to get started. Canva Pro adds features that are genuinely useful as you scale, but it is not necessary for your first product.
Once you’re in, click Create a Design and choose your dimensions. For printable products:
- US Letter (8.5 x 11 inches) — standard for most printables, planners, and worksheets
- A4 — if you’re targeting international buyers
- Custom dimensions — if you’re creating something like a planner insert or card size
Step 2 — Choose or Build Your Template
Type your product concept into Canva’s search bar — “weekly planner,” “budget tracker,” “kids activity worksheet” — and browse the template results. You’re not using these verbatim. You’re using them as a starting framework that you customize to become your own design.
What to change on any template:
- Colors — match a palette that feels cohesive and fits your target buyer
- Fonts — use two maximum, one for headings, one for body text
- Layout — move elements, delete what doesn’t serve the function, add what’s missing
- Content — replace all placeholder text with the actual labels, prompts, and fields your product needs
A good rule of thumb: if you can look at your design and the original template side by side and they look like different products, you’re done. If they still look like the same thing with different colors, keep going.
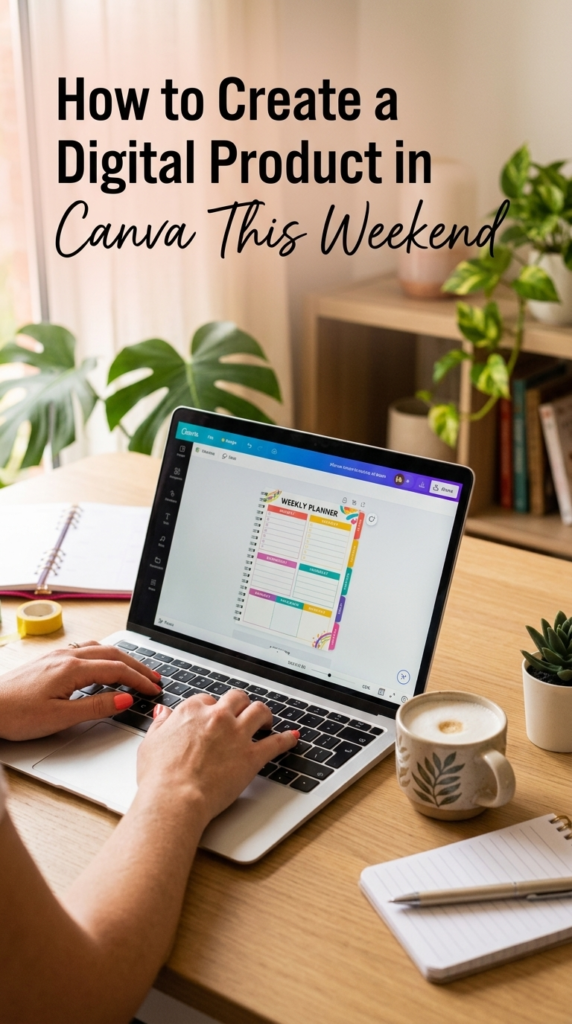
Step 3 — Design for the End User, Not for Yourself
This is where most first-time creators go wrong. You design something you think looks beautiful and then wonder why it doesn’t convert. The question to ask at every design decision is: will this be easy to use when it’s printed?
Practical things that matter:
- Font size — anything below 10pt is hard to write in on a printed page
- Line spacing — writing lines need enough space for an actual adult hand to write between them
- White space — a cluttered page feels overwhelming; buyers abandon products they don’t immediately understand how to use
- Color weight — light backgrounds print cleanly; heavy dark backgrounds use a lot of ink and some buyers will resent that
Print your product before you list it. Actually print it, put a pen in your hand, and try to use it the way your buyer will. You’ll find the problems immediately — the lines that are too close together, the section that needs a label, the element that looks fine on screen but disappears on paper.
Step 4 — Export as PDF Print Quality
When your design is done, click Share, then Download. Choose PDF Print — not PDF Standard, not PNG. PDF Print preserves quality at the highest resolution so your product looks sharp when a buyer prints it at home. This is the format Etsy expects for printable digital products.
If your product has multiple pages, Canva exports them all as one PDF automatically. If you’re creating a template buyers will edit themselves in Canva, you’ll share a Canva template link instead — but for your first product, PDF is the right format.
Step 5 — Create Your Mockup Images
This is the step that makes the biggest difference to your sales — and the one most beginners skip or rush. Your Etsy listing photos are what make a buyer click. Nobody buys a digital product they can’t visualize using in real life.
You need at least three listing images:
- A lifestyle mockup — your product shown in a real-life context, like on a desk or in a planner
- A flat product image — clean, showing the full design clearly
- A detail shot — zoomed in on a specific feature or section
Mockup creation used to require Photoshop. Now there are dedicated tools that make it straightforward — including tools built specifically for digital product sellers that let you drop your design into a realistic scene in minutes.
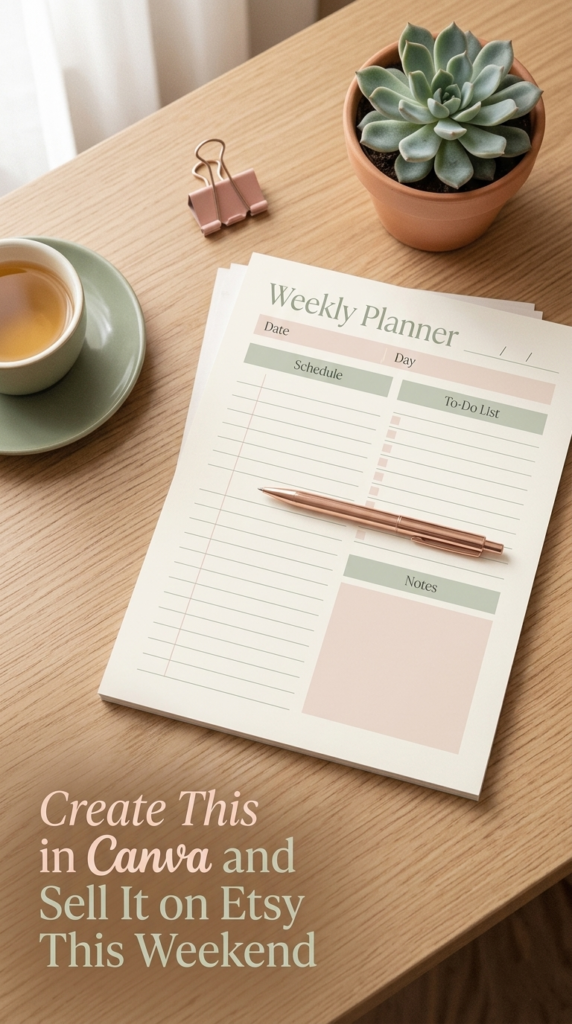
Step 6 — List It on Etsy and Optimize Your Title
Go to Etsy’s seller dashboard and create a new listing. The most important fields:
- Title — Start with your primary keyword, be specific. “Weekly Planner Printable for Women — A4 and US Letter — Instant Download” is better than “Pretty Planner.”
- Tags — Use all 13. Mix broad and specific: “printable planner,” “weekly planner printable,” “digital download planner,” “planner for women,” “instant download planner.”
- Description — First paragraph should answer: what is this, who is it for, what’s included. Then go into detail.
- Price — Match the market range for your category. Don’t undercut.
- Files — Upload your PDF. If you have both A4 and US Letter, upload both.
What to Create First (If You’re Stuck)
If you genuinely don’t know where to start, here are five products a beginner can build in one to three hours in Canva:
- A daily planner page with time blocks, to-do list, and a notes section
- A weekly habit tracker with 30 days of checkboxes
- A summer kids’ activity pack — five pages of word searches, mazes, and drawing prompts
- A grocery and meal planning template — weekly menu and shopping list combined
- A budget tracker with income, expenses, and savings sections
Pick the one that feels most natural to you. Create it this weekend. List it before Sunday ends. That’s the whole plan.
Frequently Asked Questions
Can I really create a digital product in Canva without design experience?
Yes — and most successful printable sellers started without it. Canva’s templates handle the design foundation. Your job is to customize them with the right content and make them functional. Design improves with practice, but it doesn’t need to be polished to be sellable. Useful beats beautiful every time.
What’s the difference between Canva free and Canva Pro for digital products?
The free plan is genuinely enough to start selling. Pro adds a larger template library, background remover, brand kit features, and more font options — all useful as you scale, but not necessary for your first product. Many sellers with consistent Etsy income still use the free plan for years.
What format should I save my Canva digital product in?
PDF Print quality for printables. This gives buyers the highest resolution file for home printing. If you’re creating editable templates that buyers customize themselves, you’ll share a Canva template link rather than a downloaded file — that’s a different product type with different setup requirements.
How long does it take to create my first digital product?
For a simple single or two-page printable, expect one to two hours including design time, revision, and export. A multi-page pack of five to ten pages typically takes three to five hours. Your second and third products will be significantly faster because you’ll understand the workflow and have elements you can reuse.
Try PinCraft AI Free Today
Design beautiful Pinterest pins in seconds with AI. Start your free trial — no credit card needed.

Helping creators use AI tools and Pinterest to build digital product income from home.