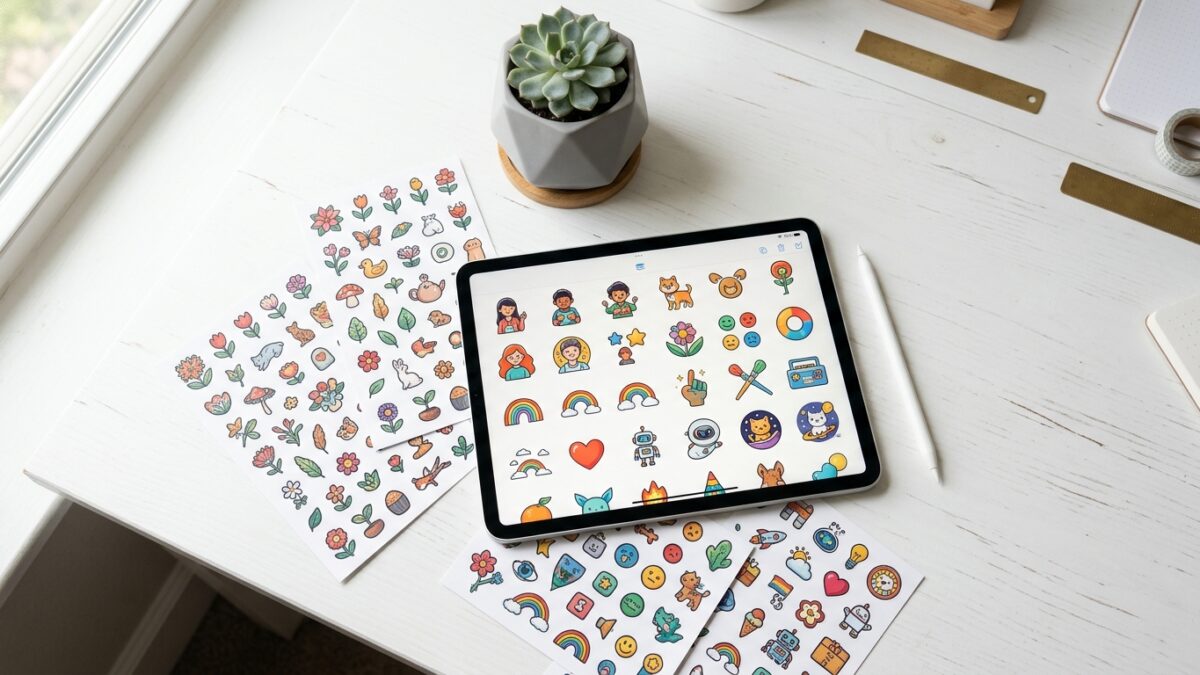
Here’s something the sticker selling world quietly figured out over the last two years: you do not need to be able to draw to have a profitable sticker shop.
AI image generation changed the entry point for this business completely. What used to take illustration skills, a Procreate subscription, and months of practice now takes a well-written prompt and about ten minutes. The creative skill that actually matters now is knowing how to direct AI — not how to hold a stylus.
Here’s how to do it properly.
Disclosure: This post contains affiliate links. I may earn a small commission if you purchase through my links, at no extra cost to you.
Why AI Works So Well for Sticker Design
Stickers have specific visual requirements that happen to play to AI’s strengths. They need to be bold, clear at small sizes, work on transparent backgrounds, and have a distinctive aesthetic. AI tools are excellent at generating exactly that kind of contained, stylised visual.
The challenge most beginners run into is the prompts. Generic prompts produce generic output. “A cute mushroom” gives you something forgettable. A well-structured prompt with the right style descriptors, background instructions, and format specifications gives you something ready to sell.
This is the gap most tutorials skip over entirely — and it’s the exact reason so many people try AI for sticker design, get mediocre results, and give up.
The Tools You Actually Need
You don’t need every AI tool on the market. Here’s what a functional setup looks like:
For image generation:
- Adobe Firefly — built into Adobe Express, free tier available, strong for flat illustration styles
- Midjourney — strongest overall quality, requires Discord, paid subscription
- Leonardo AI — generous free tier, good for consistent sticker aesthetics
- DALL-E via ChatGPT — accessible, decent results for simple designs
Any of these works. The tool matters less than the prompt.
For finishing and exporting:
- Canva — remove backgrounds, add text, resize, export as PNG with transparency
- Adobe Express — similar to Canva, integrates directly with Firefly
- Remove.bg — dedicated background remover, free for basic use
For design inspiration and market research:
- Everbee — see what’s already selling before you design anything
That’s your full toolkit. Most of it is free or low cost.
The Anatomy of a Good Sticker Prompt
The difference between a sellable sticker design and a forgettable one starts here. A strong sticker prompt has five components:
1. The subject
Be specific. Not “a cat” but “a sleepy tabby cat curled into a circle.” The more precise the subject, the more distinctive the result.
2. The style descriptor
This tells the AI what visual language to use. For stickers, the most effective style descriptors include:
- “flat vector illustration”
- “cute kawaii style”
- “bold line art with thick outlines”
- “vintage retro poster style”
- “watercolour illustration”
- “minimal line drawing”
Match your style descriptor to your target niche. Cottagecore buyers respond to watercolour. Planner buyers respond to clean flat vector. Gaming buyers often respond to bold pixel or retro style.
3. The colour direction
“Muted earth tones,” “pastel pink and sage green,” “black and white only,” “bold primary colours.” AI without colour guidance defaults to random. Colour guidance makes your shop cohesive.
4. The background instruction
This is critical for sticker design: always include “white background” or “transparent background” or “isolated on white.” Without this, AI generates backgrounds that make removal messy and time-consuming.
5. The format note
“Sticker design,” “suitable for die-cut sticker,” “no text, clean image.” This orients the AI toward the final use case.
A complete example:
“A sleepy tabby cat curled into a circle, flat vector illustration style, warm earth tones with cream and terracotta accents, isolated on white background, sticker design, no text, clean and simple”
This is dramatically more effective than “a cute sleeping cat sticker.”
Getting Even Better Results: The Prompt Generator Shortcut
Writing prompts from scratch is learnable but takes practice to get consistently good results. The faster path is using prompts that have already been tested and refined specifically for sticker generation.
The AI Sticker Prompt Studio is built exactly for this. Instead of guessing and iterating, you start with prompts engineered to produce sticker-quality output — covering dozens of styles and niches. IMO this is the step that cuts the learning curve in half.
From AI Image to Sellable Sticker File
Generating the image is only step one. Here’s the full process from there:
Remove the background
Even with “white background” in your prompt, you’ll want a truly transparent background for a proper sticker file. Upload your image to Remove.bg or use Canva’s background remover. Check the edges carefully — AI sometimes produces soft gradients at the edges that need cleaning up.
Add a white border (optional but recommended)
Most sticker designs, especially for physical printing, benefit from a white outline around the main design. In Canva, this is the “glow” effect in the image editor. Set it to white, adjust the size to about 5-10px. This makes the sticker pop on darker surfaces.
Export as PNG with transparency
Always export sticker files as PNG, not JPG. JPG doesn’t support transparency. Your file should be at minimum 2000×2000 pixels for print quality.
Create a mockup
Buyers need to see your sticker in context. Use a free mockup in Canva — a sticker on a water bottle, a laptop, or a plain white surface. Your mockup photo is what gets people to click.
What to Do When AI Output Isn’t Quite Right
AI doesn’t produce perfect results every time. Here’s how to handle common issues:
The design is too complex — Add “simple design, minimal detail, bold shapes” to your prompt. Stickers need to read clearly at 2-3 inches.
The style is inconsistent across a batch — Lock in a “style seed” by using the same style descriptors in every prompt for a collection. Some tools (Midjourney with `–sref`) let you reference a previous image directly.
The background isn’t clean — Run the image through Remove.bg rather than using AI’s built-in removal. Dedicated tools do a cleaner job.
The design looks generic — Add more specific style and era references. “1970s retro concert poster aesthetic” is more distinctive than “retro style.”
Building a Cohesive Shop With AI
One of the biggest advantages of AI for sticker design is the ability to generate multiple items in the same visual language quickly. Once you have a working prompt formula for your niche, you can generate an entire collection in a single session.
The workflow:
- Choose your niche
- Research what’s selling with Everbee
- Build a prompt formula (subject + style + colour palette + background + format)
- Generate 20-30 variations in one session
- Select the strongest 5-10
- Remove backgrounds, add borders, export
- Create mockups in Canva
- List on Etsy
The first session takes a few hours. Once you have your formula locked in, subsequent collections take significantly less time.
The Skill Shift That Changes Everything
The sticker design world hasn’t eliminated the need for creative skill — it’s changed what creative skill means. The ability to describe a visual idea precisely and iterate quickly is now more valuable than the ability to draw.
If you can articulate what you want to see clearly, you can produce sticker designs that sell. The AI handles the execution. You handle the direction, curation, and positioning.
That’s a genuinely different skill set than traditional illustration — and for a lot of people, it’s a much more accessible one.
Start with one niche, build one prompt formula, generate your first five designs. See what happens. The worst case is you learn what doesn’t work. The best case is you have your first Etsy listings live within a week.
Try PinCraft AI Free Today
Design beautiful Pinterest pins in seconds with AI. Start your free trial — no credit card needed.

Helping creators use AI tools and Pinterest to build digital product income from home.