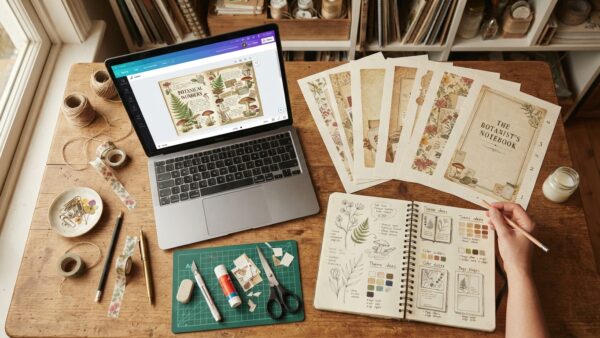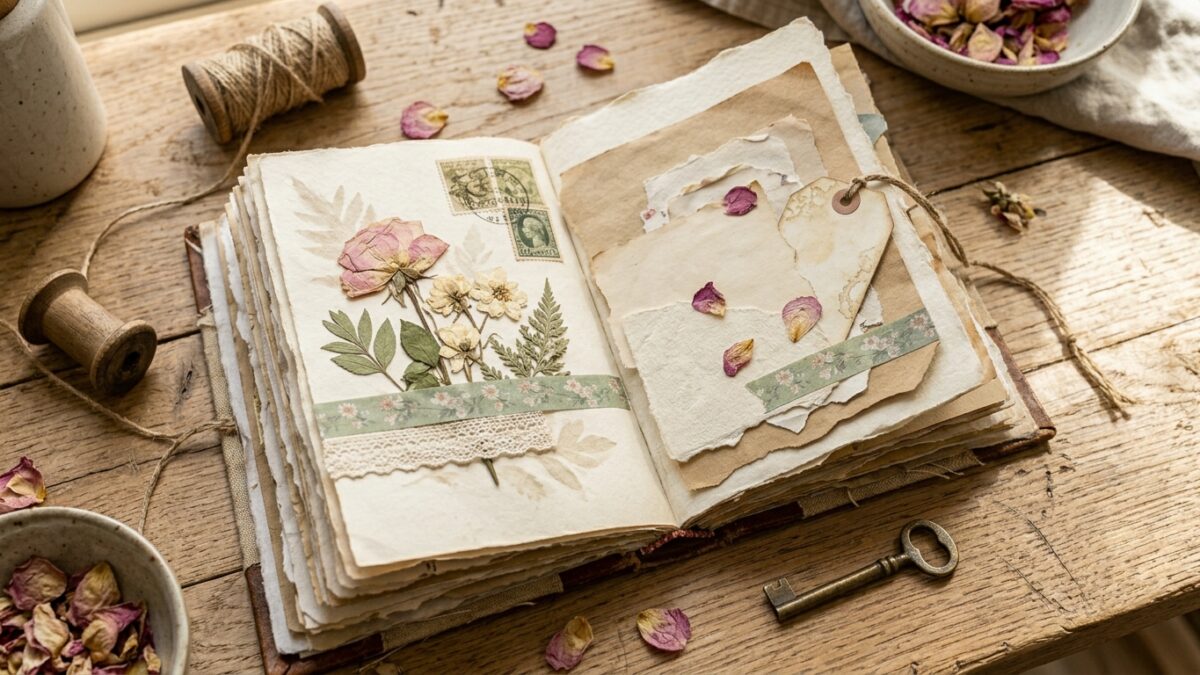
You’ve seen them on Pinterest. Layers of tea-stained paper, vintage postage stamps, washi tape, torn book pages, and handwritten notes on repurposed envelopes. They look like they came from a Victorian antique shop and took a professional artist three weeks to make.
Spoiler: they didn’t.
A junk journal is one of the most accessible creative hobbies out there — and it costs almost nothing to start. The entire point is using materials that would otherwise go in the recycling bin. Cereal boxes, wrapping paper scraps, old paperbacks nobody is reading, brown paper bags, tissue paper. That pile of paper “trash” in your junk drawer? That’s your supply closet.
Here’s everything you need to know to start your first junk journal this week.
Disclosure: This post contains affiliate links. I may earn a small commission if you purchase through my links, at no extra cost to you.
What Is a Junk Journal, Exactly?
A junk journal is a handmade book built primarily from recycled, repurposed, and found materials. Unlike a traditional journal or planner, there’s no “correct” format. No rules about what goes inside. No aesthetic you need to match.
Think of it as a creative scrapbook that also functions as a journal — a place to write, collect, doodle, paste, and layer. Some people use junk journals as daily diaries. Others use them for art journaling, memory keeping, mood boards, or creative writing prompts.
The word “junk” just means the materials are sourced from everyday life rather than a craft store. Which, honestly, is part of what makes them so satisfying to make.


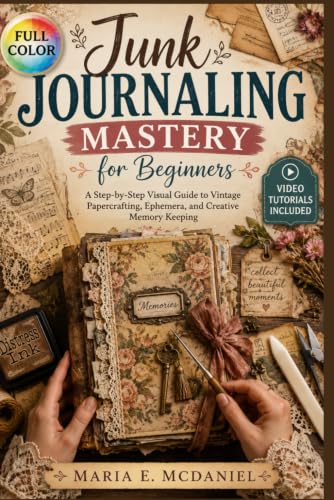
What You Actually Need to Start (It’s Almost Nothing)
This is the part that surprises most beginners. You don’t need a Cricut machine, a specialty paper collection, or a Pinterest-perfect craft room.
The Cover and Binding
The cover is usually made from something sturdy enough to protect the interior pages.
- Cardboard — cereal boxes, cracker boxes, pasta boxes. Cut to size.
- Old book covers — a thrift store hardcover you’ll never read.
- Chipboard — heavier cardboard from packaging.
- Kraft paper bags — fold multiple layers for a soft, flexible cover.
For binding, you’ll need either a needle and waxed thread for a simple stitch, or binder rings to hold signatures (folded page packets) together.
The Interior Pages
This is where “junk” really comes in. Anything paper can become a journal page.
- Old book pages (especially dictionary or music sheet pages — Pinterest loves these)
- Kraft paper bags cut open and flattened
- Patterned wrapping paper
- Tissue paper
- Brown paper from packages
- Old maps, sheet music, wallpaper scraps
- Envelopes — great for adding hidden pockets to pages
The texture and visual interest come from layering different papers together. A page that’s half kraft paper, half old book page, with a stitched edge and a glued-on envelope pocket is a genuinely beautiful thing.
Embellishments (Optional but Fun)
Once you have your pages, the embellishments are what give junk journals their signature layered look.
- Washi tape (any colors/patterns)
- Rubber stamps and ink pads
- Old buttons, ribbons, or fabric scraps
- Pressed flowers or dried leaves
- Stickers and labels
- Twine or string for closures
You don’t need all of this immediately. Start with what you have. Add as you go.
How to Bind Your First Junk Journal
This sounds intimidating. It’s not. There are three main options depending on your comfort level.
The Simple Pamphlet Stitch (Best for Beginners)
Fold 4–6 sheets of paper in half to create what’s called a “signature.” Pierce three holes along the spine. Thread a needle with waxed thread or embroidery floss, stitch through the holes in a simple pattern, and knot the ends. That’s it. It sounds more complicated in writing than it is in practice — there are great YouTube tutorials showing the stitch in under two minutes.
Stack multiple signatures and bind them together with binder rings through holes punched along the spine for a thicker journal.
Binder Rings (Even Easier)
Punch holes along the left edge of all your pages and the cover, then clip binder rings through. No sewing required. This also lets you add and remove pages easily, which is great for a first journal.
No-Sew Options
Accordion-fold a long strip of paper or kraft paper and attach a cardboard cover to each end. This creates a simple book structure without any binding at all. Very forgiving for absolute beginners.
What to Actually Put on Your Junk Journal Pages
Here’s where most beginners get stuck. You have this beautiful handmade book and then… you stare at the blank pages. Ever wondered why that happens even when you’re excited? It’s because open-ended creative prompts are actually harder than structured ones.
The solution is simple: use prompts.
Writing and Journaling Ideas
- What made you smile this week?
- A memory from childhood you keep returning to
- Something you’re letting go of this month
- A list of things that made today worth it
- A letter to your past self from five years ago
Collage and Ephemera Ideas
- Tear and layer papers in complementary colors to create a background
- Add an envelope pocket and tuck in a folded letter or photo
- Create a “pocket page” by folding the bottom third of a page up and gluing the sides
- Use a stamp to create a repeated pattern border
Mixed Media Techniques
- Coffee or tea stain pages before gluing them in for an aged look
- Distress edges with scissors or sandpaper
- Use a gesso wash over a page to create a matte painting surface
- Layer transparencies — tissue paper over a dark page creates a dreamy overlay effect
The Fastest Way to Fill Pages Without Getting Stuck
Blank pages are the enemy of creative momentum. This is honestly the biggest reason people abandon their junk journals within a week — they run out of ideas and lose the habit.
The easiest fix is having a constant supply of prompts ready to go. Not generic “write about your day” prompts. Specific, interesting, junk-journal-appropriate prompts that spark something creative every time you sit down.
That’s exactly why I created a Junk Journal Prompt Generator — a tool that gives you a fresh, specific prompt every single time you need one. No more blank-page paralysis.
→ Get the Junk Journal Prompt Generator here
Whether you journal daily or pick it up once a week, having prompts on demand keeps the creative momentum going without forcing yourself to come up with ideas from scratch.
✦ Tired of staring at a blank page?
Get a fresh, detailed AI prompt for your next journal page in one click — no design skills, no guesswork.
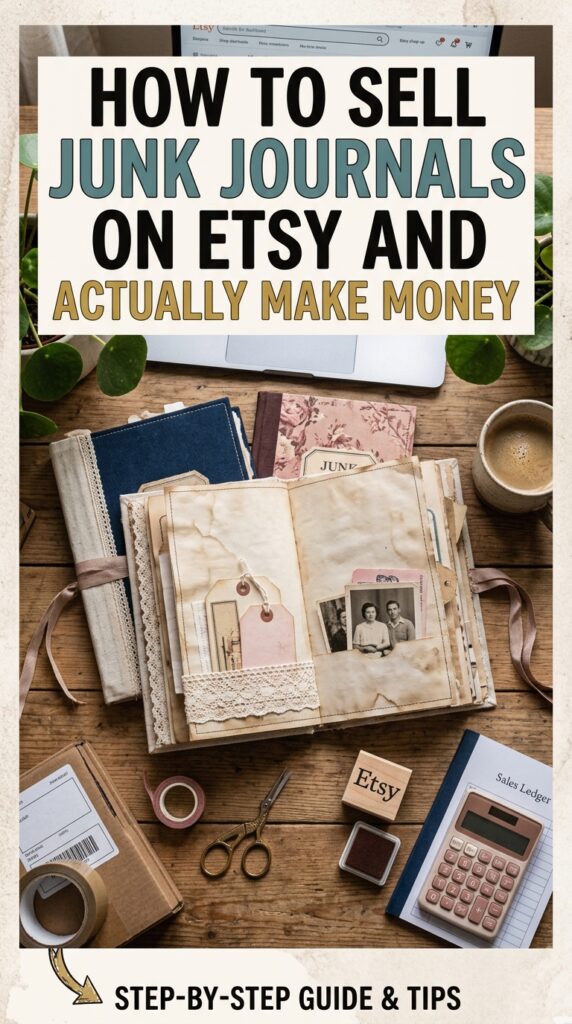
Can You Sell Junk Journals on Etsy?
Yes — and there’s a real market for them. IMO it’s one of the more interesting Etsy niches because buyers specifically want the handmade, one-of-a-kind quality that mass manufacturing can’t replicate.
Junk journals sell in a wide price range — simple pamphlet-bound journals start around $15–25, while elaborate, highly embellished A5 journals can sell for $50–$100+ depending on the maker’s style and following.
If you’re thinking about turning this hobby into an income, doing keyword research before you list is the move that actually makes the difference. Everbee is the tool I recommend for Etsy sellers — it shows you exactly what’s selling, what people are searching for, and where there’s demand you can actually reach.
Start With One Signature
The hardest part of starting a junk journal is not the binding, not the supplies, and not the prompts. It’s giving yourself permission to make something imperfect.
Grab a cereal box, four sheets of any paper you have on hand, and a needle and thread. Fold the pages, poke three holes, stitch them together, and cut the box into a cover. You now have a junk journal.
It won’t be Pinterest-perfect. That’s entirely the point.
Come back and tell me what you made your first cover from — I always love seeing what people start with.
Try PinCraft AI Free Today
Design beautiful Pinterest pins in seconds with AI. Start your free trial — no credit card needed.

Helping creators use AI tools and Pinterest to build digital product income from home.