Carving a pumpkin is fun for about ten minutes and then you’re elbow-deep in slimy seeds, scraping stringy pulp out from under your fingernails for the rest of the afternoon. And after all that effort? It starts collapsing in on itself within a week.
Painting solves basically every problem carving creates. No knives, no mess, no pumpkin guts on the kitchen table, no soft moldy spot appearing on day four. A painted pumpkin can sit on your porch looking sharp all the way through Halloween — and if you use a faux pumpkin, it comes back out again next year.
Whether you’re doing this with kids on a rainy Saturday, alone with a glass of wine and a podcast, or hosting a “pumpkin painting party” for friends, here’s everything you need to actually pull it off well.
Why Painting Beats Carving (Especially With Kids)
- No sharp tools. Nobody needs to hand a six-year-old a carving knife.
- No mess. Paint is contained. Pumpkin guts are not.
- It lasts longer. A carved pumpkin starts caving in within days. A painted one holds its shape for weeks.
- You can redo it. Mess up a painted design and you can paint right over it. Mess up a cut and that’s permanent.
- It works on faux pumpkins. Meaning you can reuse them every single year instead of buying new ones.
The only thing carving has going for it is the classic glowing candlelit look — but you can fake that too with a battery tea light dropped inside a painted pumpkin with a small hole cut in the bottom.
What You Actually Need
You can start with just a pumpkin, paint, and a brush. Here’s the fuller list depending on how far you want to take it:
- Acrylic craft paint — dries fast, holds pigment well, comes in every color you’d need. This is the standard choice for pumpkin painting.
- Paint brushes (variety pack) — a mix of small detail brushes and larger flat brushes covers everything from fine linework to full block-color coats.
- Faux/foam pumpkins — worth it if you want a design to last indefinitely, or if you’re painting with kids under 6 who tend to press too hard and puncture a real one.
- Paint pens — genuinely the easiest tool for anyone who isn’t confident freehanding with a brush. Great for faces, lettering, dots, and fine detail.
- Painter’s tape — essential for stripes, polka dots, and any clean-line geometric design.
- Mod Podge or clear acrylic sealant — protects a real pumpkin’s surface and extends how long the paint job survives outside.
- A drop cloth or old tablecloth — acrylic paint does not come out of wood finishes or fabric easily. Cover the table before you start, not after the first spill.
- Stencils (optional) — handy for symmetrical faces or repeated shapes if freehand isn’t your thing.
If you’ve already got kids’ craft paint at home, it’ll work fine — it’s just more matte and less pigmented than proper acrylics, so you may need two coats instead of one.
No-Carve Pumpkin Painting Ideas
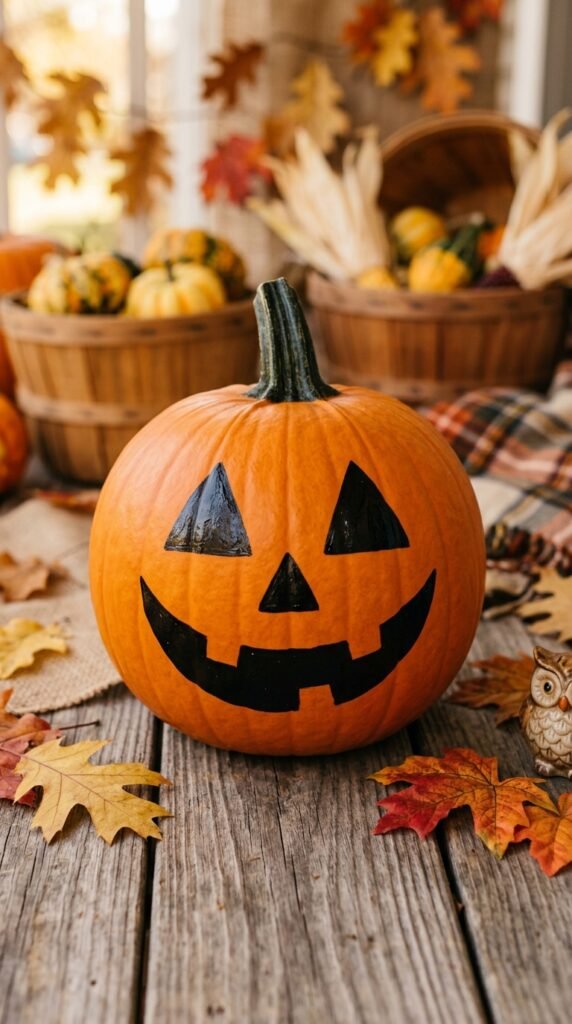
1. Classic Jack-O’-Lantern Face (Painted, Not Cut)
The easiest starting point, and the most forgiving for beginners. Full steps below.
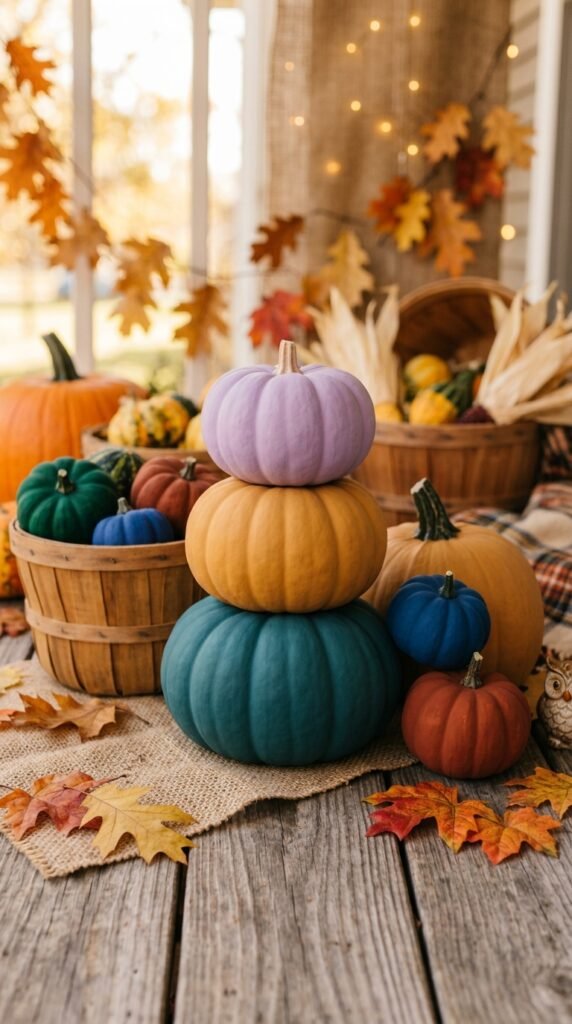
2. Solid Color Block Pumpkins
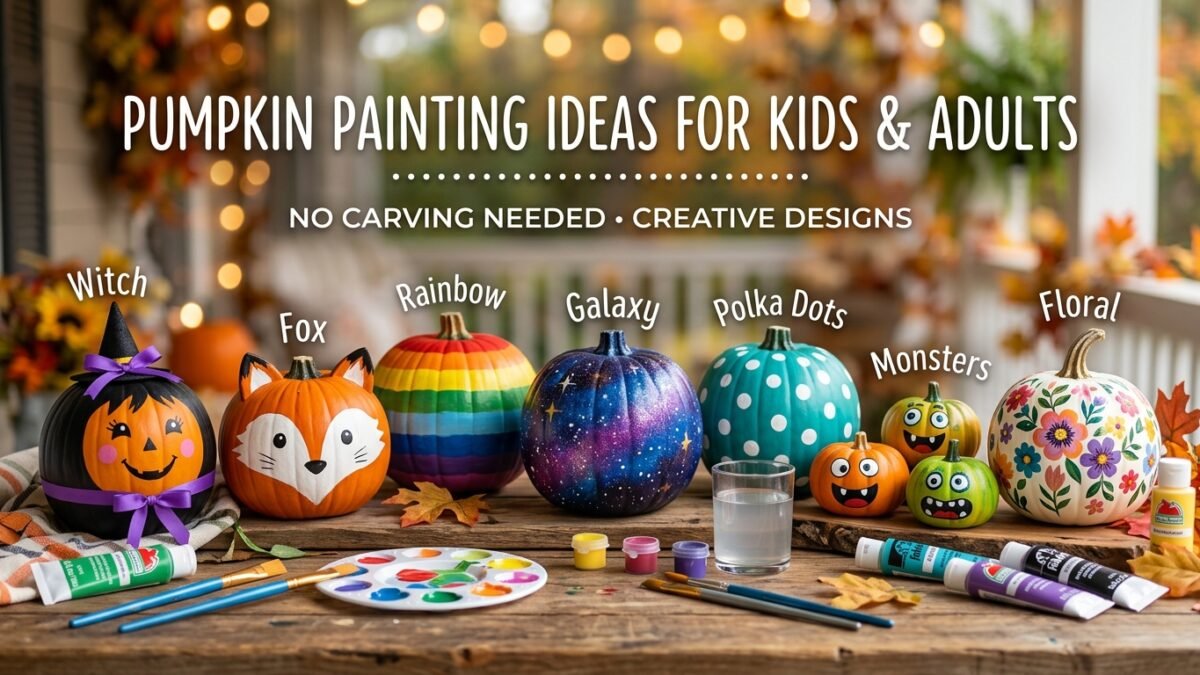
Paint the whole pumpkin one bold, matte color — black, deep sage green, dusty terracotta, cream. This is the look behind most of the “aesthetic fall porch” photos you’ve seen on Pinterest. Simple, but it photographs beautifully in a grouped display of three or five.
3. Marbled or Drip Paint Pumpkins
Let two contrasting colors drip down from the top for a moody, painterly effect. Full steps below.
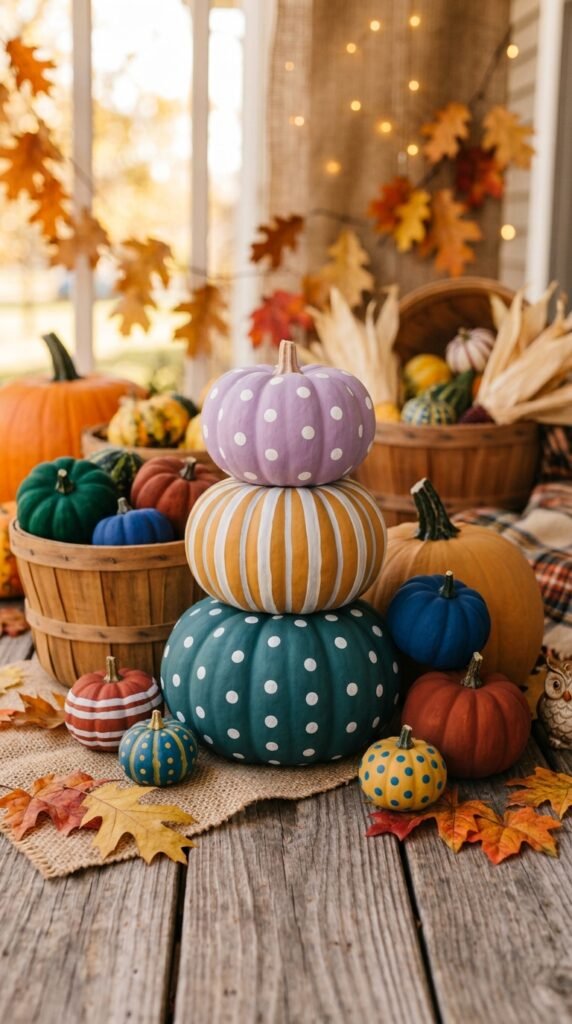
4. Polka Dot or Striped Pumpkins
Mask off stripes or dots with painter’s tape, paint over, peel away once fully dry. One of the best options for kids since there’s no freehand drawing skill required at all.
5. Galaxy / Night Sky Pumpkin
Black base coat, then dab on purples, blues, and white paint-pen “stars.” Looks far more advanced than the actual effort involved.
6. Word or Quote Pumpkins
A single word — “BOO,” “HOWL,” “GATHER,” “HARVEST” — in script using a paint pen. Line up three pumpkins on porch steps, each with one word, for a clean seasonal display.
7. Animal Face Pumpkins
Black cat (add two triangle ears cut from cardstock), owl, spider, or ghost. A reliable kid favorite because the results look cute even when the linework isn’t perfect.
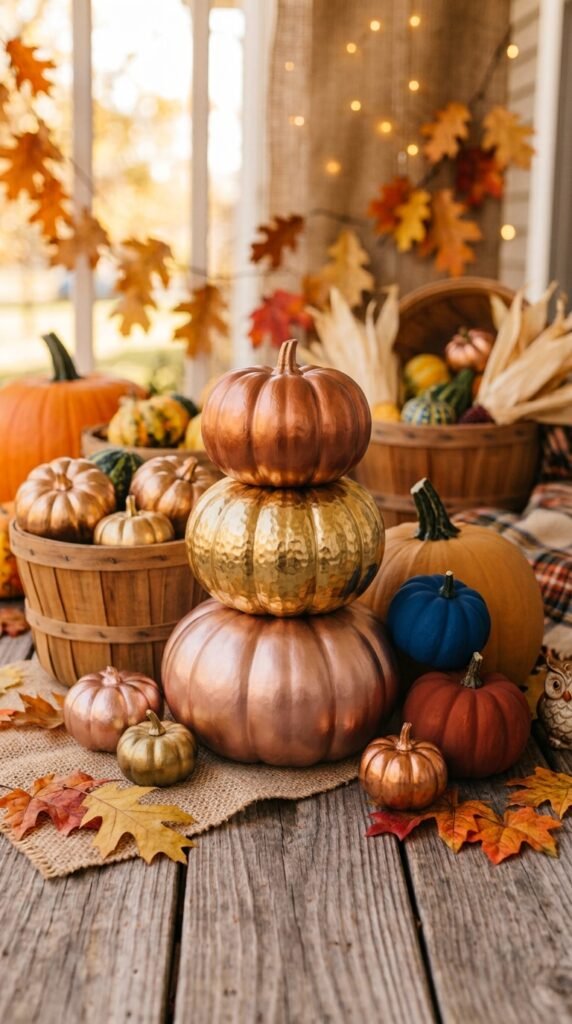
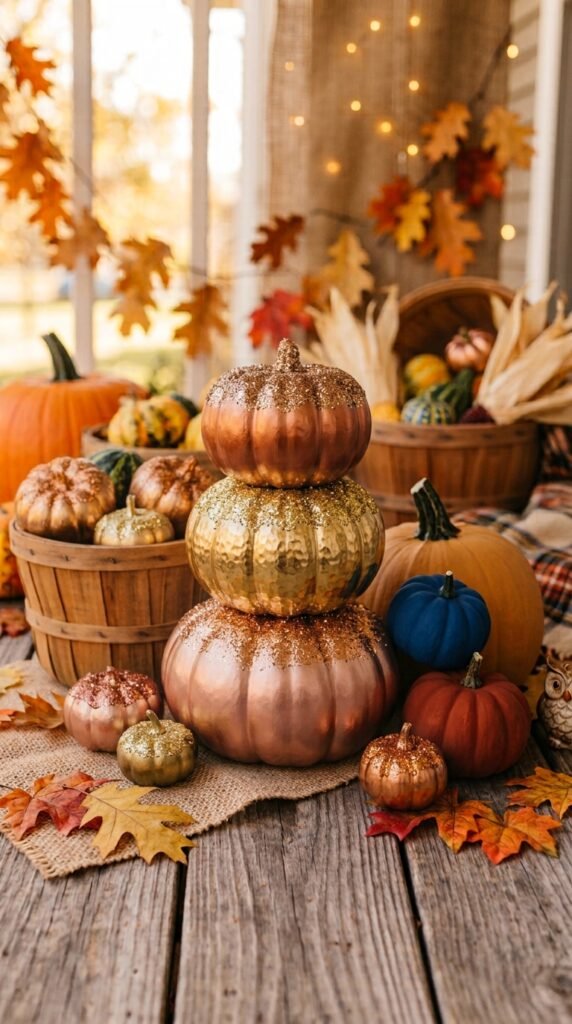
8. Metallic Gold or Copper Pumpkins
Metallic paint over a white base gives an elegant, non-spooky look that transitions straight into Thanksgiving decor without needing to swap anything out.
9. Watercolor-Style Wash Pumpkins
Thin acrylic paint with a little water and apply in loose, blended washes instead of solid coverage. Gives a soft, artistic finish — good for anyone who doesn’t want a “craft project” look, more of a “decor piece” look.
10. Two-Tone Dipped Pumpkins
Paint the bottom half one color and leave the top natural (or paint it a contrasting color), with a clean tape line dividing the two. Modern and very Pinterest-friendly.
11. Glitter-Top Pumpkins
Paint a solid base, then while it’s still tacky, dust glitter over just the top third. Reads as festive without being over the top.
12. Chalkboard Pumpkin
Chalkboard-finish spray paint turns the whole pumpkin into a surface you can write on and change with actual chalk — good for a “countdown to Halloween” number or rotating messages.
Step-by-Step: Classic Painted Jack-O’-Lantern Face
- Wipe down the pumpkin so it’s clean and dry.
- Paint the entire pumpkin with an orange base coat if you’re using a white or unpainted faux pumpkin (skip this if using a real orange pumpkin).
- Let the base coat dry fully — usually 20–30 minutes for acrylics.
- Lightly sketch the face in pencil first if you want symmetry (pencil marks are easy to paint over).
- Fill in triangle eyes, a triangle nose, and a jagged mouth with black acrylic paint or a black paint pen.
- Let dry completely before handling or moving it outside.
- Optional: seal with a clear coat if it’ll be sitting outdoors.
Step-by-Step: Marbled Drip Technique
- Paint the pumpkin a solid base color and let it dry completely.
- Mix your drip color to a slightly thinned consistency — a touch of water in acrylic paint helps it run naturally.
- Load a brush and touch it to the top of the pumpkin near the stem, letting gravity pull the paint down in a thin line.
- Repeat at different points around the top, varying the length of each drip.
- Add a second drip color partway through for a layered marbled look, letting some drips overlap.
- Let dry fully before moving — drips will smear if touched too early.
Tips for Painting With Kids
- Cover the table first. Always. Acrylic paint on a wood finish is not coming off.
- Use foam or faux pumpkins for kids under 6 — real pumpkins are harder to paint on than they look, and small hands tend to puncture the skin with a brush handle.
- Let each coat dry before adding the next color, or expect muddy, blended-brown results instead of clean layers.
- Paint pens are much easier for kids than brushes for anything involving a face, letters, or fine detail — less pressure control needed.
- Set a “one pumpkin, one idea” rule with younger kids so a project doesn’t spiral into six colors mixed into gray-brown mush.
Making It Last
Real pumpkins: a layer of Mod Podge or clear acrylic sealant over the finished design will meaningfully extend how long it holds up outdoors — often a couple of extra weeks beyond an unsealed paint job, depending on weather. Keep it out of direct rain where possible.
Faux pumpkins: paint job lasts indefinitely. Store it carefully after Halloween (a box works fine) and it comes back out next year ready to go, or gets a fresh coat if you want a new design.
FAQ
How long does a painted pumpkin last? A sealed, painted real pumpkin typically holds up for several weeks outdoors before the pumpkin itself starts to soften — much longer than a carved one, which usually starts collapsing within a week. Faux pumpkins last indefinitely.
Can I use regular kids’ craft paint instead of acrylic? Yes. It’s more matte and less pigmented, so plan on two coats for full, even coverage.
Do I need to seal a faux pumpkin? No — sealant is mainly for protecting real pumpkins from moisture and weather. Faux pumpkins don’t need it, though a matte or gloss sealant can change the finish if you want a specific look.
What’s the easiest design for a total beginner? Solid color block or polka dot with painter’s tape. Both require zero freehand drawing and still look intentional and finished.
Can I paint over a mistake? Yes, that’s the whole advantage over carving — let the paint dry, then paint over it with your base color and start that section again.
Save this for later 📌 and come back closer to Halloween when you’re ready to set up your painting station.
Try PinCraft AI Free Today
Design beautiful Pinterest pins in seconds with AI. Start your free trial — no credit card needed.

Helping creators use AI tools and Pinterest to build digital product income from home.