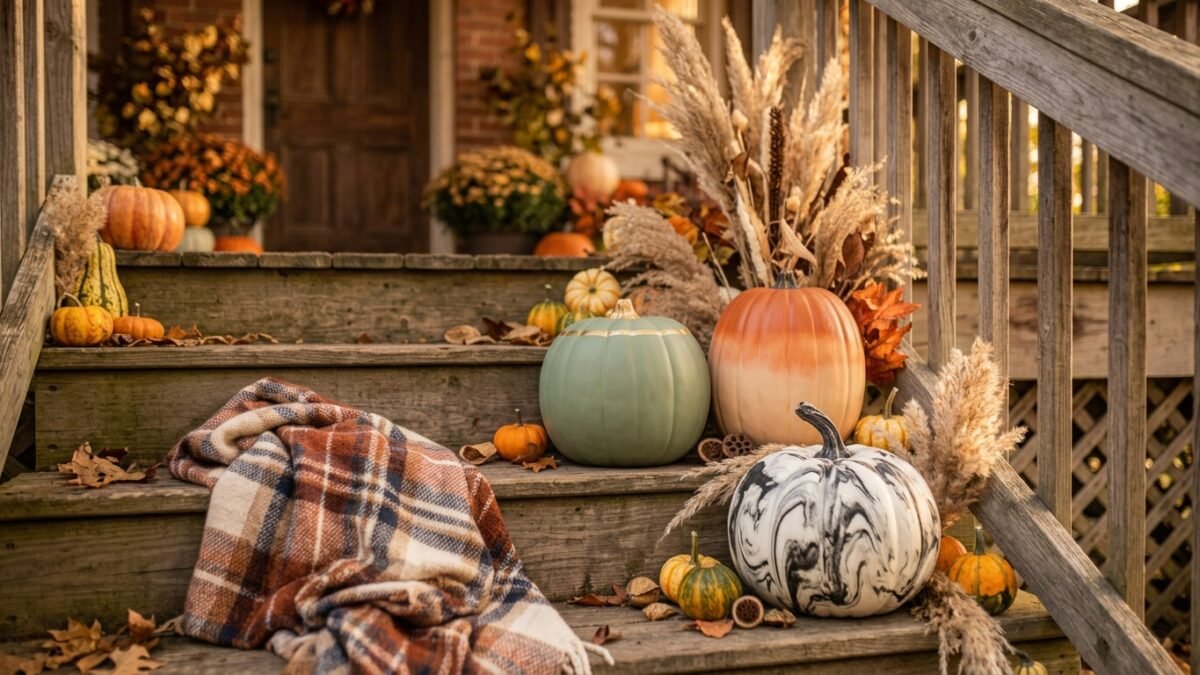
Every October I used to buy pumpkins with big carving plans and zero follow-through — the knife would come out, I’d remember how much I hate scooping pumpkin guts, and the pumpkin would just sit there until it caved in on the porch by week two. Painting them fixed all of that. No mess, no sharp tools, and honestly, the finished designs end up looking more polished than most carved ones anyway. These are the fifteen ideas I keep coming back to every fall, starting with the ones that take five minutes and working up to the ones worth showing off.
The easiest high-impact pumpkin painting ideas are a solid matte color with a metallic gold rim, an ombre dip, and eraser-stamped polka dots. All three take under 20 minutes, use basic craft acrylic paint, and need zero carving tools or artistic skill.
This post contains affiliate links. If you click through and make a purchase, I may earn a small commission at no extra cost to you. I only link to things I’d actually use myself — thanks for supporting the blog this way.
Carving is the default because it’s what everyone grew up doing — but let’s be honest about what it actually involves. You’re elbow-deep in stringy pulp, working around kids with a sharp knife, and by the second week your masterpiece has usually started caving in on itself or growing something you don’t want to look at too closely. All that effort, and it barely survives to Halloween night.
Painting sidesteps every part of that. A painted pumpkin holds its shape and color for the entire season (sometimes longer, if you seal it), there’s no risk to little hands, and you’re not limited to whatever a knife can carve — you can do metallics, marble, florals, anything. Below are fifteen ideas, grouped by how much time and skill they actually take, so you can start with something foolproof and work up from there.
Beginner: Five Minutes, Zero Skill
1. Solid Matte Color + Metallic Rim
Paint the whole pumpkin one flat matte color — sage green, dusty blue, and terracotta all photograph beautifully — then run a thin line of metallic gold around the base and stem with a metallic paint pen. This one trick makes a $0.50 craft store pumpkin look like it came from a home decor catalog.

- BRUSH + FINE DUAL TIP: Switch easily between detailed lines and expressive strokes with a 1 mm fine tip and a flexible 1…
- PREMIUM WATER-BASED ACRYLIC PAINT: Filled with richly pigmented, water-based acrylic paint, these markers deliver vibran…
- WORKS ON A VARIETY OF SURFACES: Create on paper, canvas, wood, rock, ceramic, glass, metal, and more. Results may vary b…
2. Polka Dot Pumpkins
Dip a pencil eraser into acrylic paint and stamp evenly spaced dots across a painted or bare pumpkin. Two colors max, and space the dots loosely for a hand-done look rather than perfectly uniform.
3. Painter’s Tape Stripes
Wrap strips of painter’s tape vertically or diagonally around the pumpkin, paint over the whole thing, then peel the tape off once dry for crisp graphic stripes.
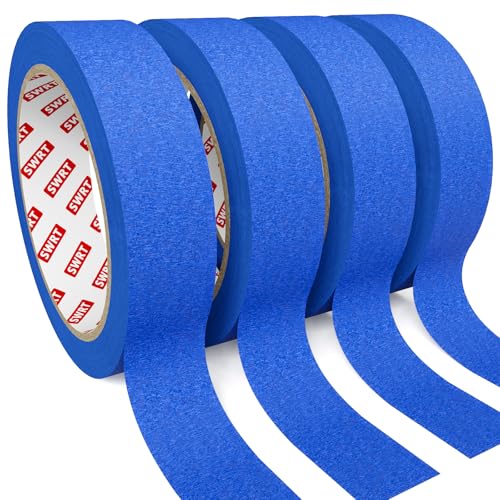
- Value Pack For Home & Diy Projects: Includes 4 rolls of blue painters tape, each measuring 1 inch x 20 yards, providing …
- Clean Removal Without Sticky Residue: Designed for clean release on most surfaces, this painter tape removes easily with…
- Sharp Paint Lines For Professional Results: Blue masking tape helps create clean paint edges and reduces paint bleed for…
4. Ombre Dip
Mix three shades of one color (light, medium, dark) and blend them in horizontal bands from top to bottom, feathering the edges with a damp sponge while the paint is still wet so the transitions look dipped rather than painted.
5. Glitter-Dipped Stem
Paint just the stem with craft glue, then dip it into loose glitter for a small, low-effort accent on an otherwise plain pumpkin — a good option if you’re short on time but still want something on the porch.
Intermediate: Worth the Extra 20 Minutes
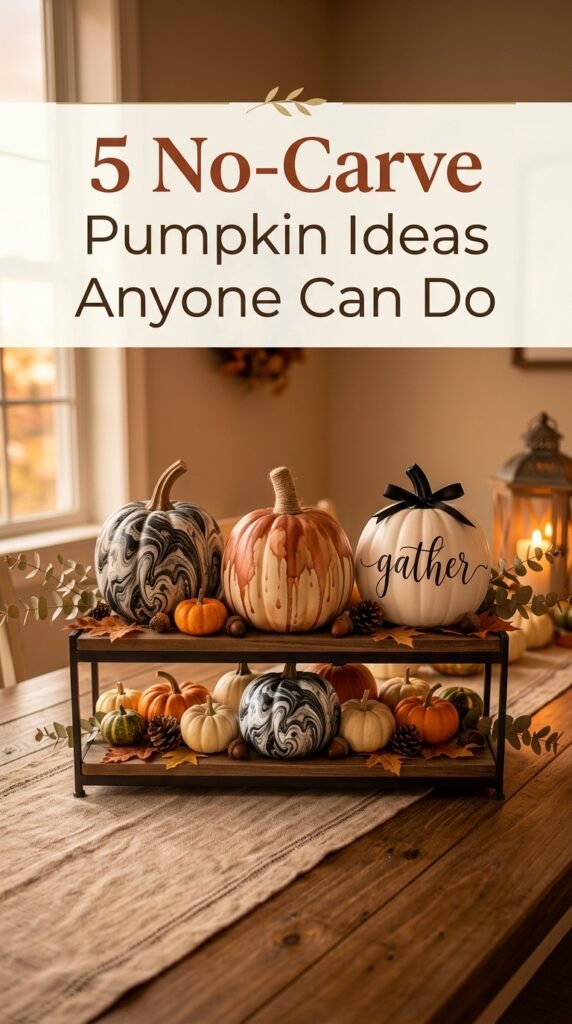
6. Marble Swirl Effect
Pour two contrasting paint colors onto a paper plate, dip a natural sea sponge into both without fully blending them, then dab it across the pumpkin in a loose, swirling motion so the colors marble together rather than mix into one shade.
7. Watercolor Drip
Thin acrylic paint with water until it’s runny, apply it near the top of the pumpkin, and tilt the pumpkin slightly so it drips downward in natural streaks. Let each color dry before adding the next so they don’t muddy together.
8. Farmhouse Black and White
Paint the pumpkin white, let it fully dry, then hand-letter a word or simple line drawing in black with a fine-tip paint pen. This is the style that consistently performs best for indoor mantel and tiered-tray styling.
9. Boho Terracotta Wash
Mix terracotta paint with a bit of water for a translucent wash, apply it unevenly so some of the pumpkin’s natural texture shows through, and finish with a jute or raffia bow around the stem.
10. Chalkboard Pumpkin
Coat the pumpkin in chalkboard paint and let guests write their names, a fall quote, or a “grateful for” list directly on it — a nice one for Thanksgiving gatherings since it carries the pumpkin past Halloween.
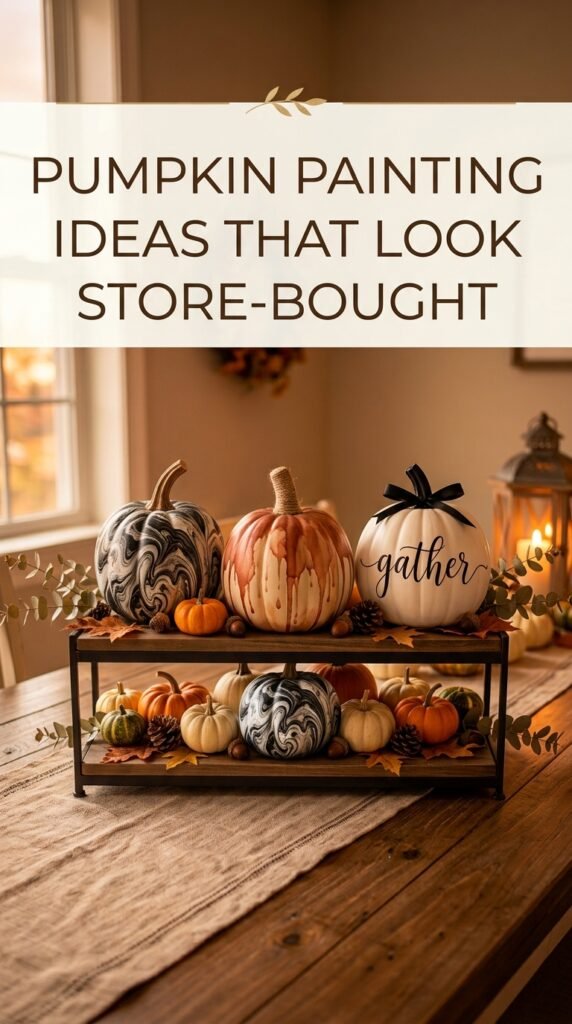
Showstopper: For When You Want the Porch Everyone Stops For
11. Gold Leaf Pumpkin
Paint the pumpkin a deep matte color (black or emerald work best as a base), brush on gold leaf adhesive in a loose geometric pattern, then apply imitation gold leaf sheets once the adhesive turns tacky. Brush away the excess with a soft brush for a shattered-gold effect.
12. Galaxy Night Sky
Blend navy, purple, and black in soft blotches across the pumpkin using a sponge, then flick white and silver paint off an old toothbrush for a star-speckled finish. Add a few larger metallic dots for “planets.”
13. Hand-Painted Florals
Sketch a loose floral cluster in pencil first, then fill in with small acrylic strokes — you don’t need real painting skill, just patience and thin brushes in two or three flower colors plus one green for leaves.
14. Animal Print
Leopard print (irregular dark blotches with a lighter outline) and cow print (large black splotches on white) are both far more forgiving than they look, since the “imperfect” shapes are the point.
15. Splatter Paint Abstract
Lay down a drop cloth, thin two or three paint colors slightly, and flick them at the pumpkin from a loaded brush for a modern, abstract finish — genuinely the fastest showstopper on this list once you commit to the mess.
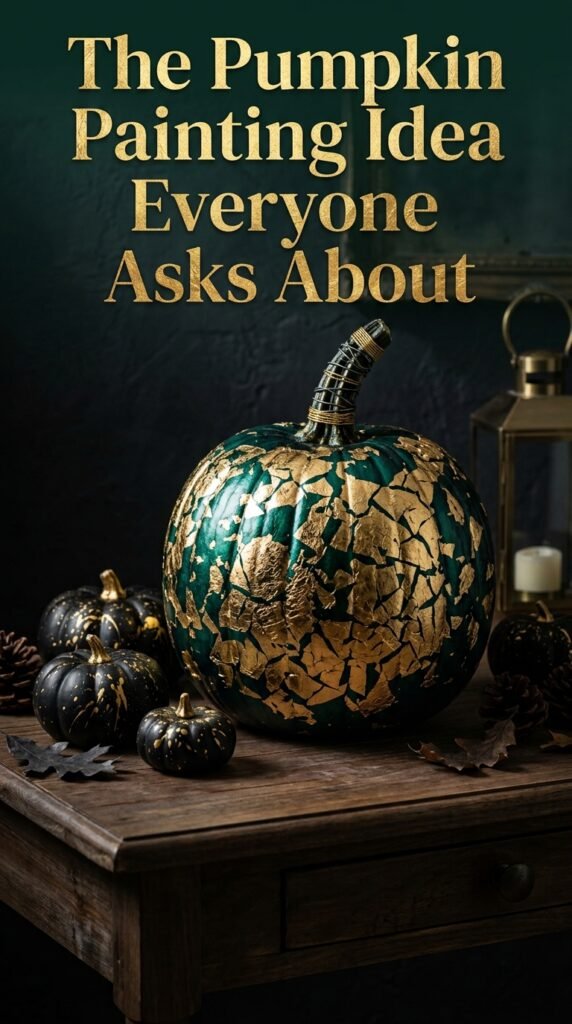
What Your Porch Could Actually Look Like
Here’s the thing about this list — you don’t need to do all fifteen. Pick three: one beginner design you can knock out in five minutes, one intermediate one for the front steps, and one showstopper for the door. That’s a porch that looks like it took a full weekend, when really it took one trip to the craft aisle and about an hour on a Saturday afternoon. And unlike a carved pumpkin, it’ll still look good the week after Halloween instead of quietly collapsing on you.
If you’re posting any of these to Pinterest, film a quick 10–15 second flip-through of the finished pumpkins instead of a single static photo — video pins are consistently outperforming static ones right now, and this kind of content is an easy one to film in one take.
Final Thoughts
Painting pumpkins turned out to be the fall tradition I actually stuck with, mostly because it removes every part of carving I used to dread. Start with one design from the beginner section this weekend — the matte-and-gold-rim one is genuinely the fastest win on this whole list — and build from there once you see how forgiving the process is.
Frequently Asked Questions
Do painted pumpkins last longer than carved ones?
Yes, significantly. A carved pumpkin typically starts collapsing within 5–10 days once exposed to air, while an unpainted or painted whole pumpkin can last several weeks to a couple of months indoors, longer if sealed.
What kind of paint works best on pumpkins?
Craft acrylic paint is the standard choice — it’s affordable, comes in nearly every color, and adheres well to a pumpkin’s slightly waxy skin. Spray paint works too for solid base coats but is harder to control for detail work.
Do you need to seal a painted pumpkin?
It’s optional but recommended if it’ll be outdoors, since a clear acrylic sealant spray protects the design from rain and helps slow rotting. Indoor pumpkins generally don’t need it.

- CRYSTAL-CLEAR WET-LOOK GLOSS: Clear acrylic paint sealer adds a bold reflective shine that makes finished acrylic painti…
- CLEAR, NON-YELLOWING PROTECTION: Brush-on acrylic varnish forms a clear protective top coat against dust, moisture and e…
- SELF-LEVELING, NO-STICKY FINISH: Fast-drying formula levels smoothly to minimize streaks, bubbles, visible brush marks a…
Can you paint a fake or foam pumpkin instead of a real one?
Absolutely, and it’s actually the better option if you want to keep a design for future years — foam craft pumpkins take paint just as well as real ones and won’t rot, mold, or attract pests.
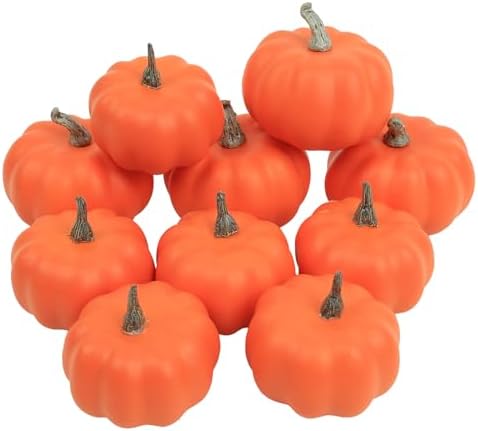
- 【Fall Decorations for Home】 – This fake pumpkins for decorating set includes 10 pcs orange small pumpkins ( 6pcs of size…
- 【Realistic Thanksgiving Mini Pumpkins】 – Plastic pumpkins is of high quality, with vivid shapes, colors, and sizes, deco…
- 【Superior Material of Pumpkin Decorations】 – Our artificial pumpkins harvest decoration set are made of environmentally …
How do you keep a real painted pumpkin from rotting?
Keep it out of direct rain and high humidity where possible, seal it with acrylic spray sealant, and avoid cutting into the pumpkin at all (even a small hole speeds up decay dramatically) — a fully intact, sealed pumpkin will outlast a carved one by weeks.
Try PinCraft AI Free Today
Design beautiful Pinterest pins in seconds with AI. Start your free trial — no credit card needed.

rockell is a blogger and digital entrepreneur passionate about helping people use AI tools to build online businesses from home.